![[PukiWiki]](image/pukiwiki.png "[PukiWiki]")
こちらも参考にしてください。
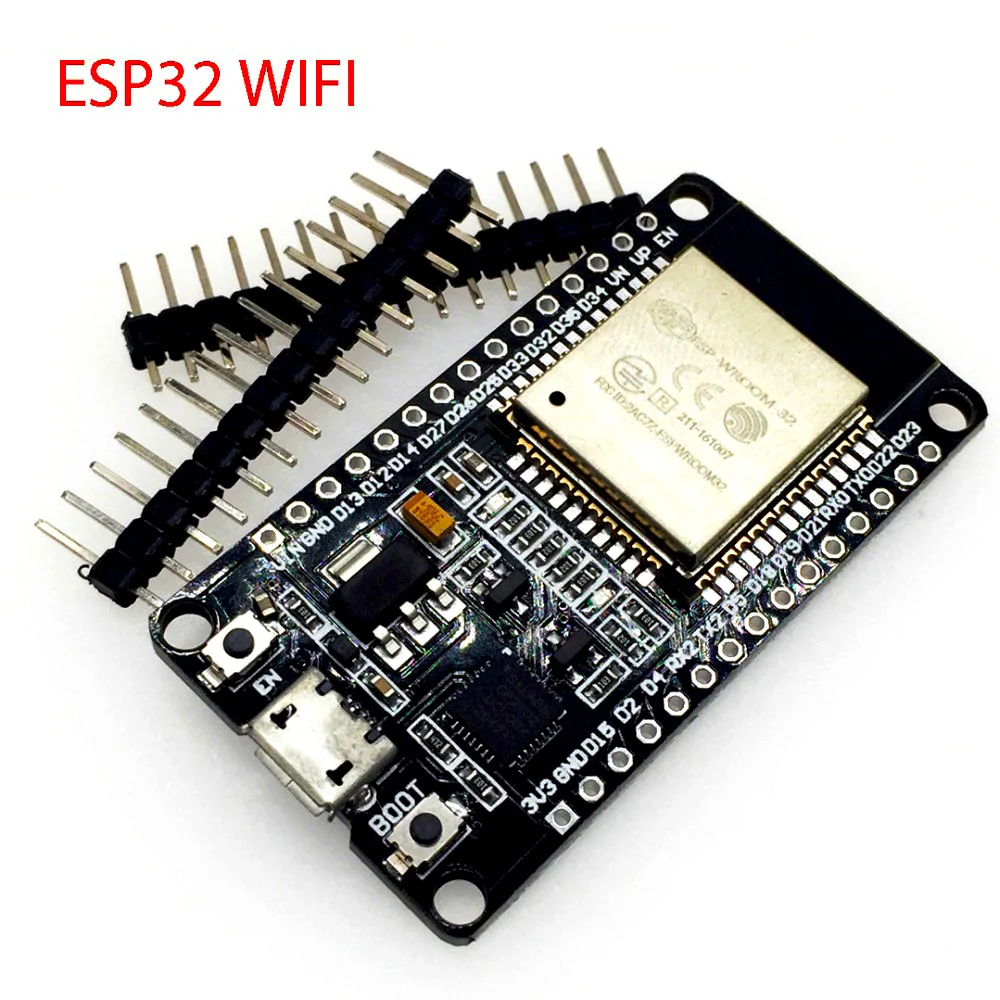
ESP32開発ボードは、AliExpressで450円+送料で買えるArduino対応コンピュータです。 WiFiとBluetoothが載ってます。技適マークもついてます。
https://s.click.aliexpress.com/e/_AXsnSv
ESP32の本体は、銀色のシールドに覆われた部分で、Espressifという会社(上海に本社のある会社)が作った格安のチップです。 M5Stackにも使われています。ネット経由で操作できるスマートホームデバイス製品に広く使われています。 これに、USBコネクタ、USBシリアル変換チップ、5V-3.3V変換チップなどを搭載し、I/Oピンを引き出しやすく配線したものが開発ボードです。 部品のレイアウトが違う製品がいくつかありますが(スイッチサイエンスでも扱っています)、どれも同じ機能があると思われます。
こちらのサイトで、Arduino IDEでの使い方が説明されてます。
https://docs.espressif.com/projects/arduino-esp32/en/latest/installing.html
これに書いてある、
https://raw.githubusercontent.com/espressif/arduino-esp32/gh-pages/package_esp32_index.json
という文字列を、Arduino IDEのPreferencesの「追加のボードマネージャのURL」の場所にコピペします。

すると、「ツール」「ボード:」メニューの中で、esp32が選べるようになります。これでインストールします。

インストールが終了すると、「ツール」「ボード」「ESP32 Arduino」が選べるようになります。選択肢はすごく多いのですが、「ESP32 Dev Module」で動きました。他の選択肢でも動きます。
Lチカして動作を確認します。ボード上にGPIO接続されたLEDは付いていない(シリアル通信確認用のLEDは付いています)ので、ブレッドボードで13番ピンとGNDピンに、抵抗とLEDを接続します。
int LED=13;

void setup() {
  pinMode(LED, OUTPUT);
}

void loop() {
  digitalWrite(LED, HIGH);
  delay(1000);
  digitalWrite(LED, LOW);
  delay(1000);
}
「ツール」「ライブラリを管理」を選び、espmqttで検索すると、EspMQTTClientというライブラリが見つかります。 こちら、
http://is.ocha.ac.jp/~siio/?How2Homebridge_Mqttthing
では、PubSubClientというライブラリを使いましたが、これを元にして、使いやすくしたライブラリのようです。 WiFi基地局とMQTTブローカの接続や、これらが途切れた時の再接続などを全て内部でやってくれるので、プログラムが簡単になります。 これをインストールします。

More Infobの部分をクリックすると、開発ページにジャンプします。そこに使用例などが説明されています。 また、元になるPubSubClientがまだインストールされていない場合は、インストールするように指示されます。Install allを選んでおきます。

先の開発ページにある、一番簡単な例のように、
#include "EspMQTTClient.h"

EspMQTTClient client(
  "WifiSSID",
  "WifiPassword",
  "192.168.1.100",  // MQTT Broker server ip
  "",   // MQTTUsername. Can be omitted if not needed
  "",   // MQTTPassword. Can be omitted if not needed
  "TestClient"      // Client name that uniquely identify your device
);

void setup() {}

void onConnectionEstablished() {

  client.subscribe("mytopic/test", [] (const String &payload)  {
    Serial.println(payload);
  });

  client.publish("mytopic/test", "This is a message");
}

void loop() {
  client.loop();
}
とすると、MQTTブローカを介して読み書きができます。
以下のようにスイッチとLEDを付けて、MQTTブローカに接続するプログラムを書きました。

プログラムは以下です。MQTTとの接続などに関しては、こちら
http://is.ocha.ac.jp/~siio/?How2Homebridge_Mqttthing
をご覧ください。
//ESP32 MQTT simple example
//LED and Switch

#include "EspMQTTClient.h"

//input & output pins
const int PushSW=12; //push to GND sw
const int BlinkLED=13; //LED indicator
int currentSWstate=-999; //current state of the PushSw
//MQTT
EspMQTTClient client(
  "siiolab408_2G", //WiFi SSID
  "xxxxxxxx", //WiFi password
  "192.168.108.75",  // MQTT Broker server ip
  "",   // Can be omitted if not needed
  "",   // Can be omitted if not needed
  "TestClient"      // Client name that uniquely identify your device
);
const char  SUBTOPIC[] = "mqttthing/test/set"; //mqtt topic to subscribe
const char  PUBTOPIC[] = "mqttthing/test/get"; //mqtt topic to publish

void setup() {
  //Digital I/O
  pinMode(BlinkLED, OUTPUT);
  pinMode(PushSW, INPUT_PULLUP);
  digitalWrite(BlinkLED, LOW);  //off the LED
  currentSWstate = -999; //force to update Sw state in the next main loop()
  //Serial
  Serial.begin(115200);
  while (!Serial);
  Serial.println("Serial started.");
}

void onMessageReceived(const String& msg) {
  Serial.println(msg);
  if(msg.compareTo("true")==0) {
    digitalWrite(BlinkLED, HIGH); //turn LED on
  }
  else if(msg.compareTo("false")==0) {
    digitalWrite(BlinkLED, LOW); //turn LED off
  }
  currentSWstate = -999; //force to update Sw state in the next main loop()
}

void onConnectionEstablished() {
  Serial.println("Connection established.");
  client.subscribe(SUBTOPIC, onMessageReceived);
  client.publish(PUBTOPIC, "ESP32 is ready.");
  currentSWstate = -999; //force to update Sw state in the next main loop()
}

void loop() {
  client.loop();

  int newSWstate=digitalRead(PushSW);
  if(currentSWstate!=newSWstate) { //update only when LED changed
    Serial.println("Switch is turned on or off.");
    if(newSWstate==LOW) client.publish(PUBTOPIC,"Switch is true.");
    else client.publish(PUBTOPIC,"Switch is false");
  }
  currentSWstate=newSWstate;

  delay(1000);
}
これで、
% mosquitto_pub -h 192.168.108.75 -t mqttthing/test/set -m true
% mosquitto_pub -h 192.168.108.75 -t mqttthing/test/set -m false
などでLEDをon/offできますし、
% mosquitto_sub -h 192.168.108.75 -t mqttthing/test/# -v
などでスイッチのon/offを知ることができます。